dollhouse upcycle
i love to upcycle old things...
recently i came across my childhood dollhouse -- a mid-century modern, eight room dwelling made by creative playthings...
with very little of its original furniture, i went about updating the original into a sweet pad for my 4 yr old daughters dolls, using my love for mod podge, chalkboard paint & fabric!
to collect:
- fabric,
- scissors,
- rotary cutter, ruler & mat,
- glue gun & sticks,
- mod podge & foam brush,
- chalkboard paint
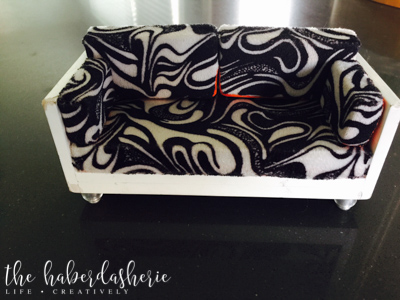
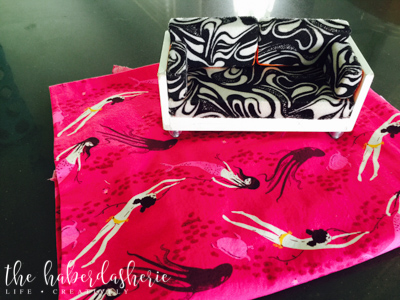
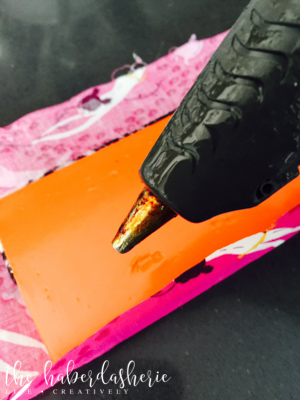
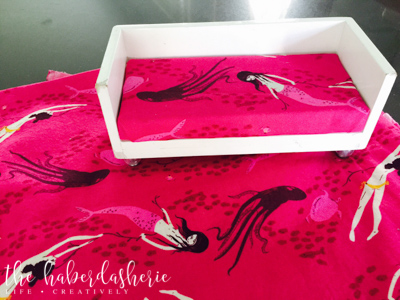
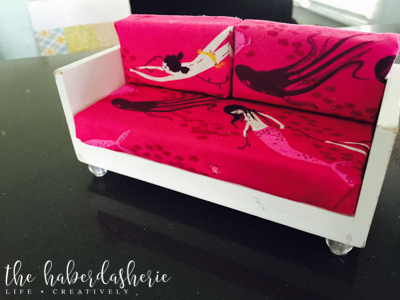
the first part of the upcycle included reupholstering the couch.
for this, all you need is a glue gun & glue sticks, scissors and scraps of fabric.
- i decided to "fussy cut" the fabric, because i wanted to make sure the octopus & mermaids were visible and took center stage.
- after deciding on the cuts, i laid each cushion on the fabric, and cut adding an extra one inch, for all four sides --- enough to wrap around the edges.
- using the glue gun, i began by adhering one side, followed by the opposing side, then moving on to the remaining two sides {see pics}.
- once all six cushions were "upholstered", i glued them to the couch frame, and voila!
after upcycling the dollhouse couch, i moved on to the walls!
i thought about adding wallpaper, then thought, why not mod podge fabric onto the walls?
this particular dollhouse has eight rooms.
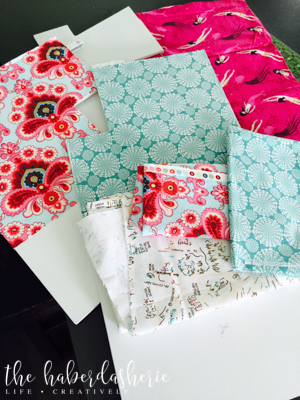
i wanted each room to have a "statement wall", something vibrant and colorful... so i dug through my fabric stash and came across four gorgeous fabrics. my daughter wanted pink, and mermaids, and flowers... i came across very different, colorful fabrics that are all tied together by the paris map fabric's pink and aqua undertones.

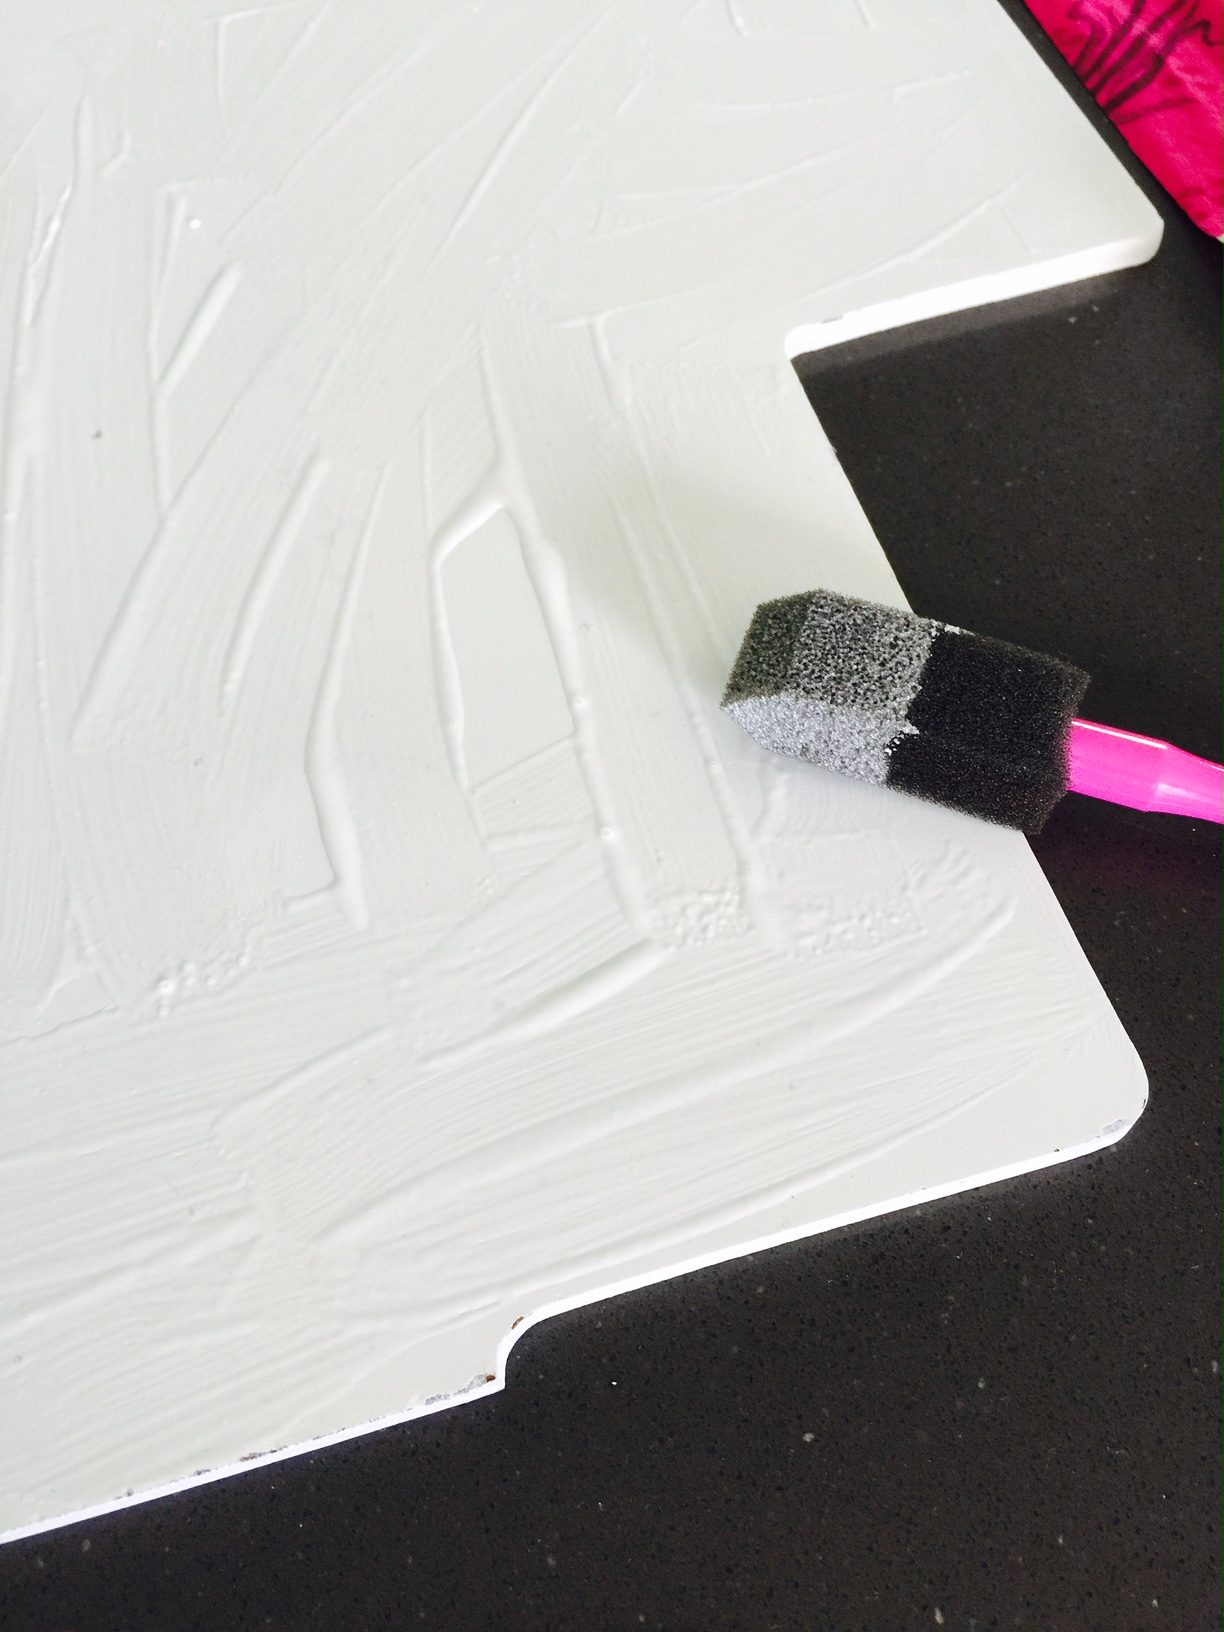
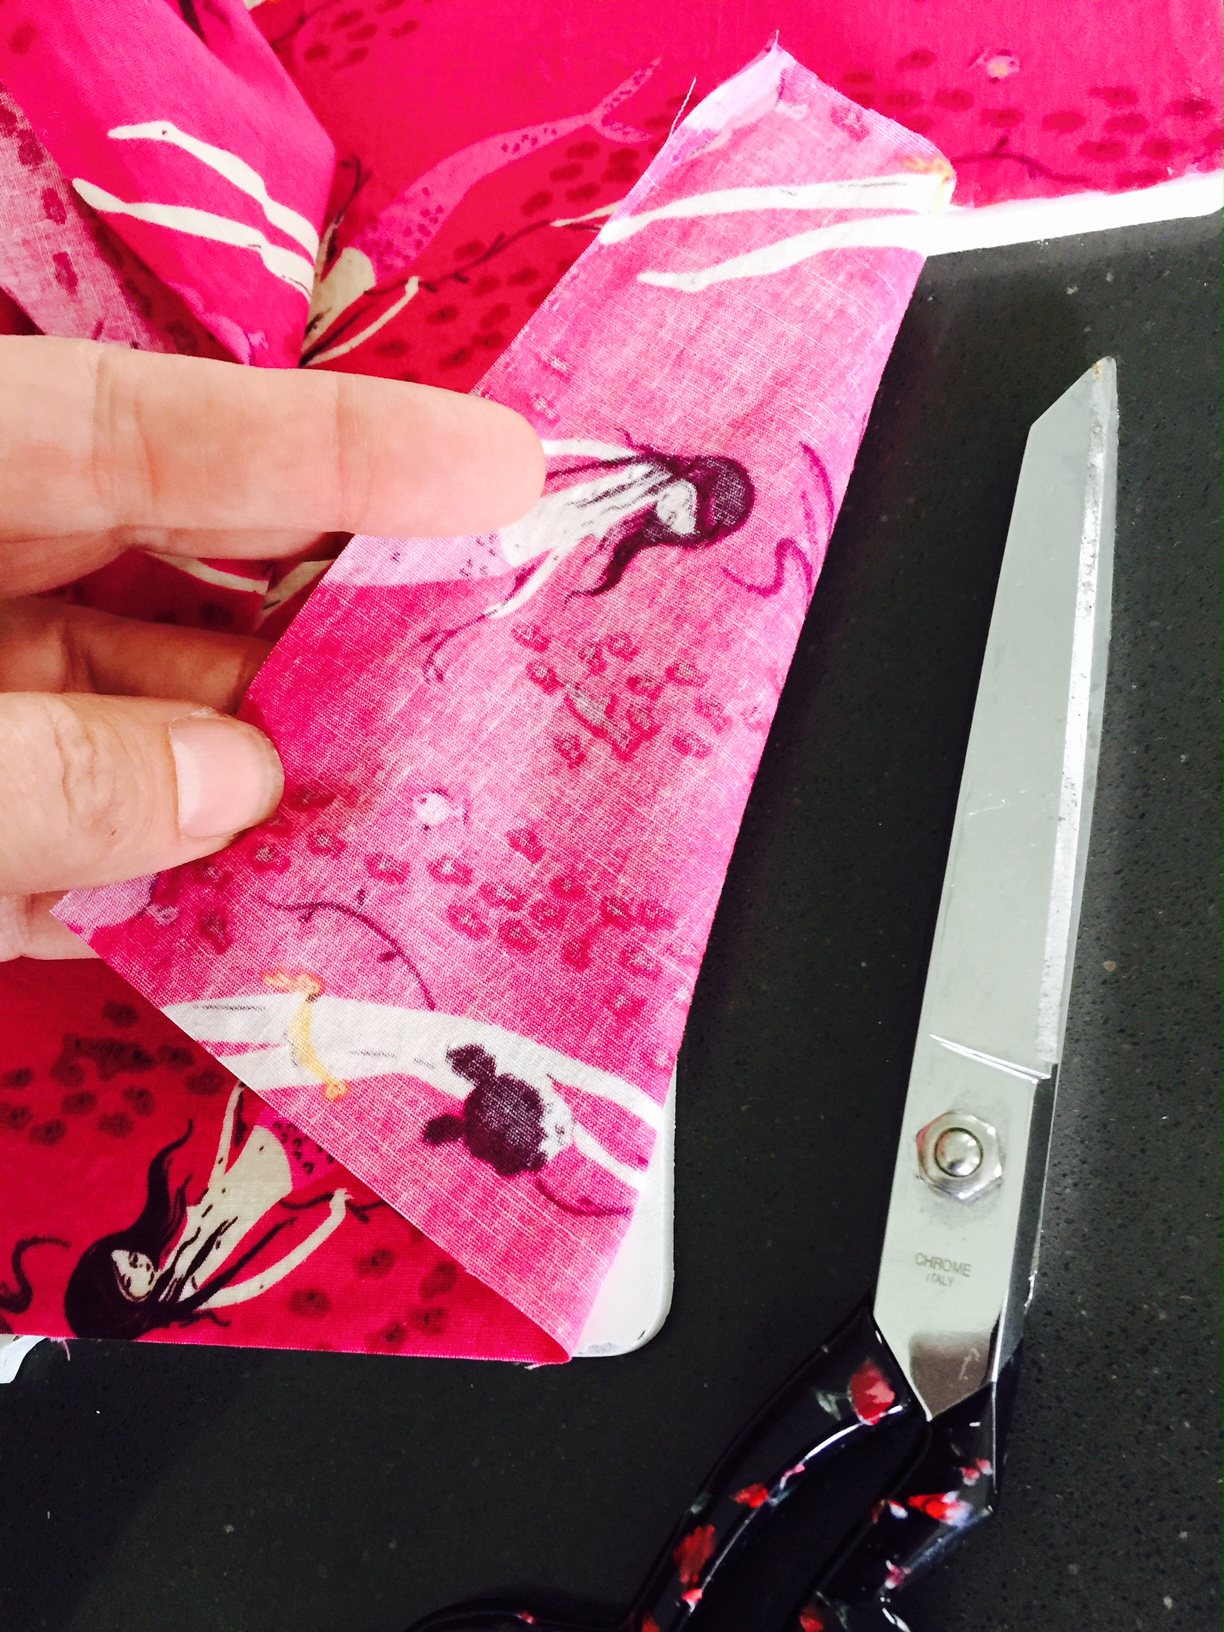
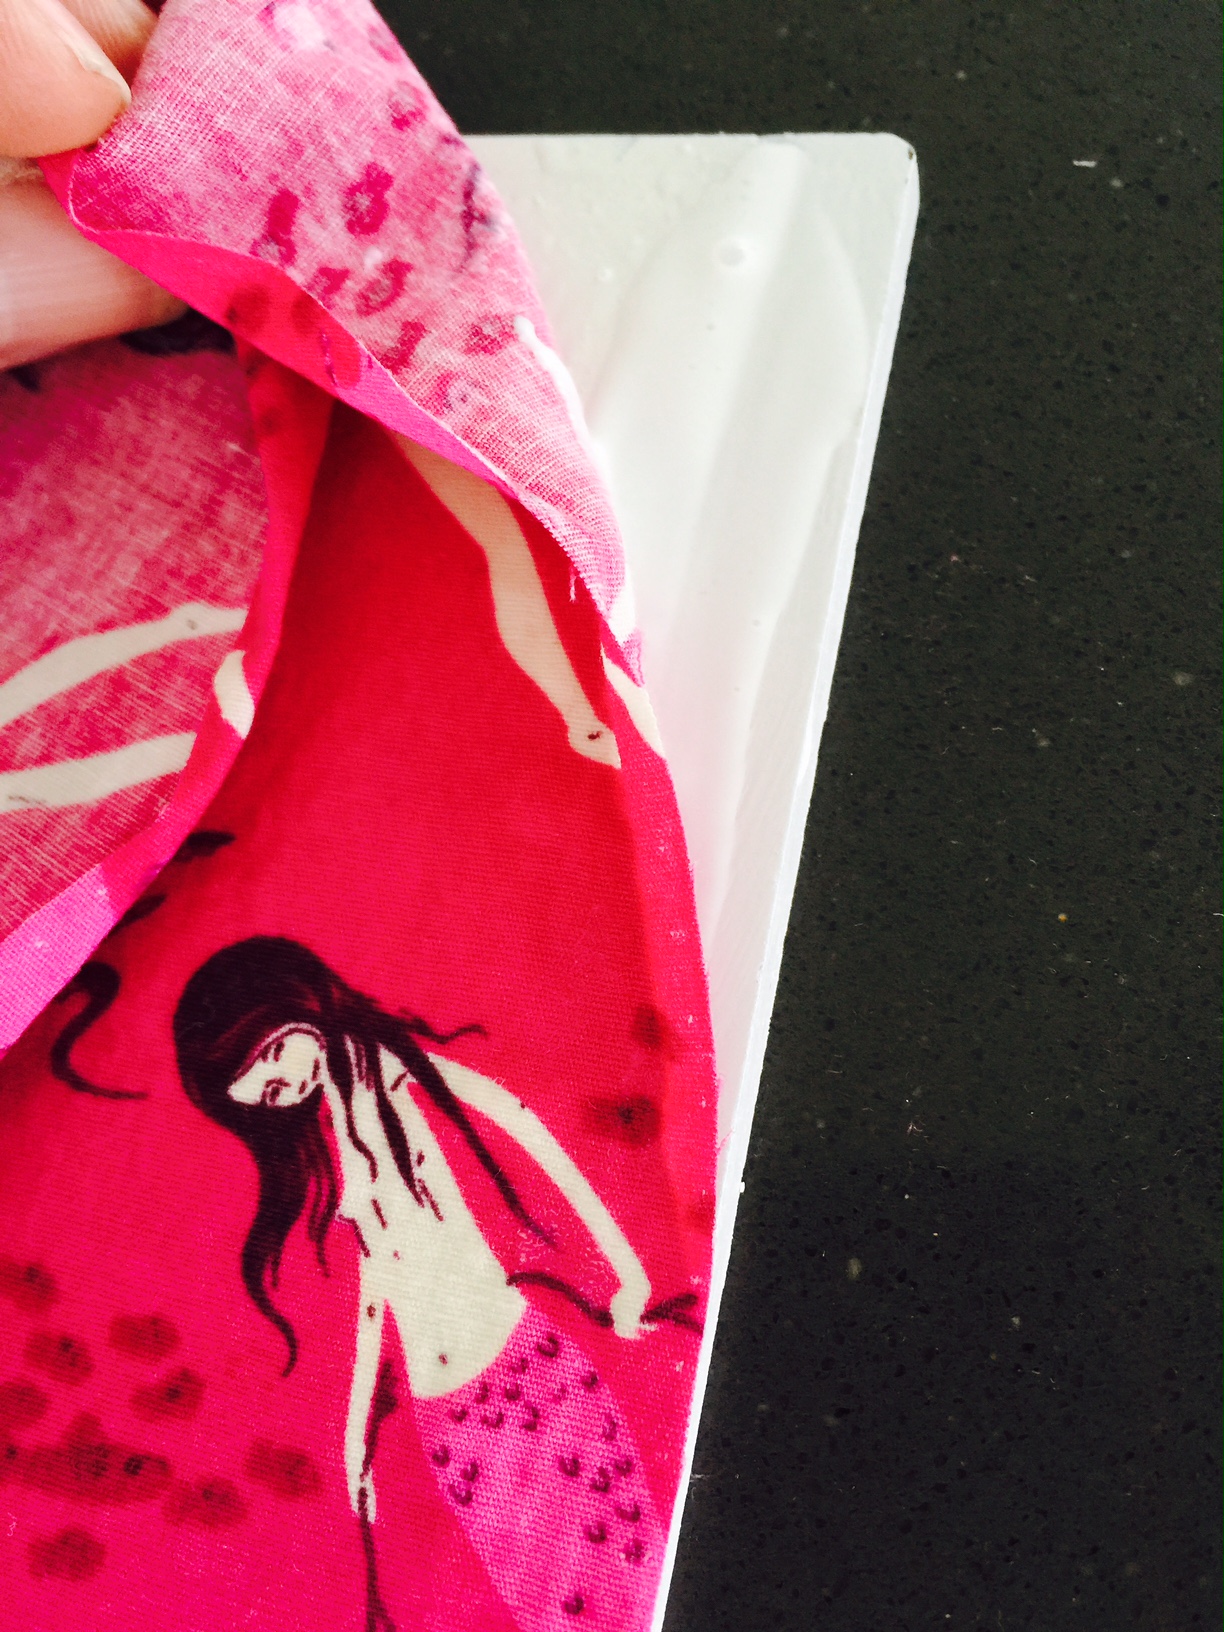
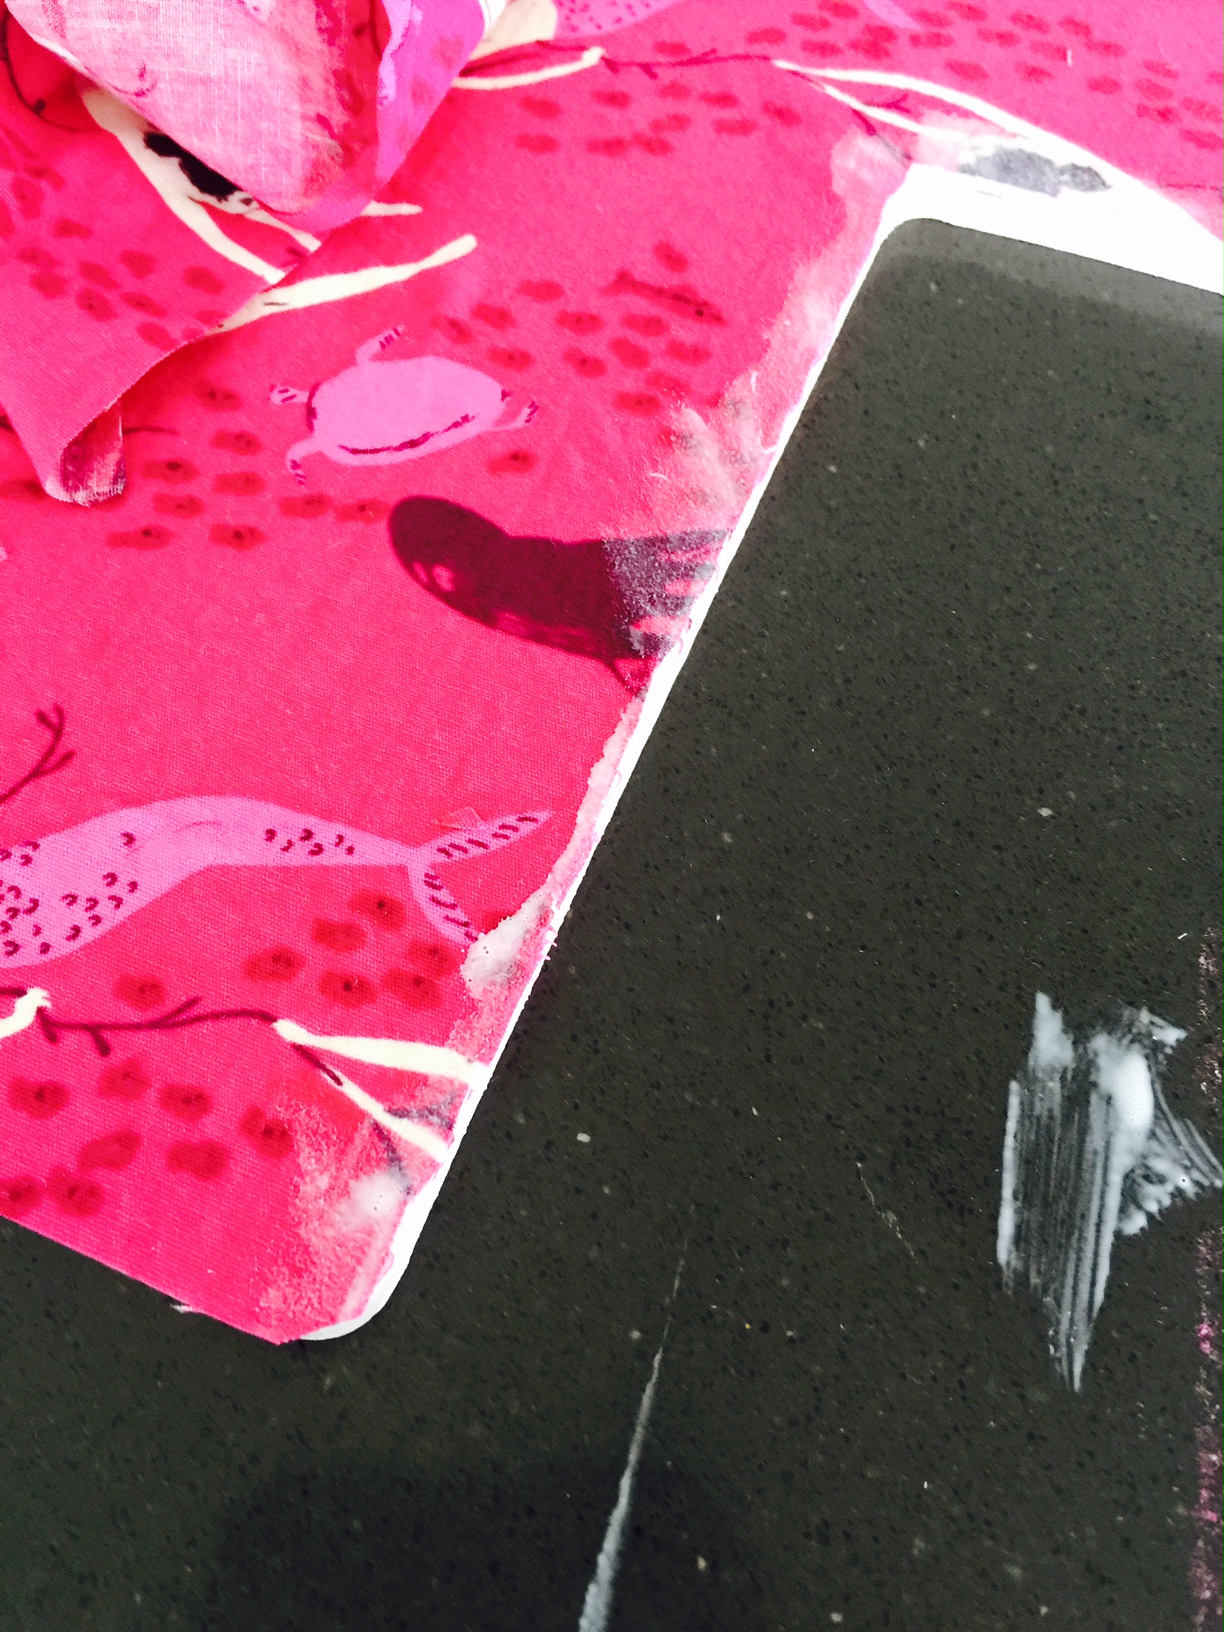
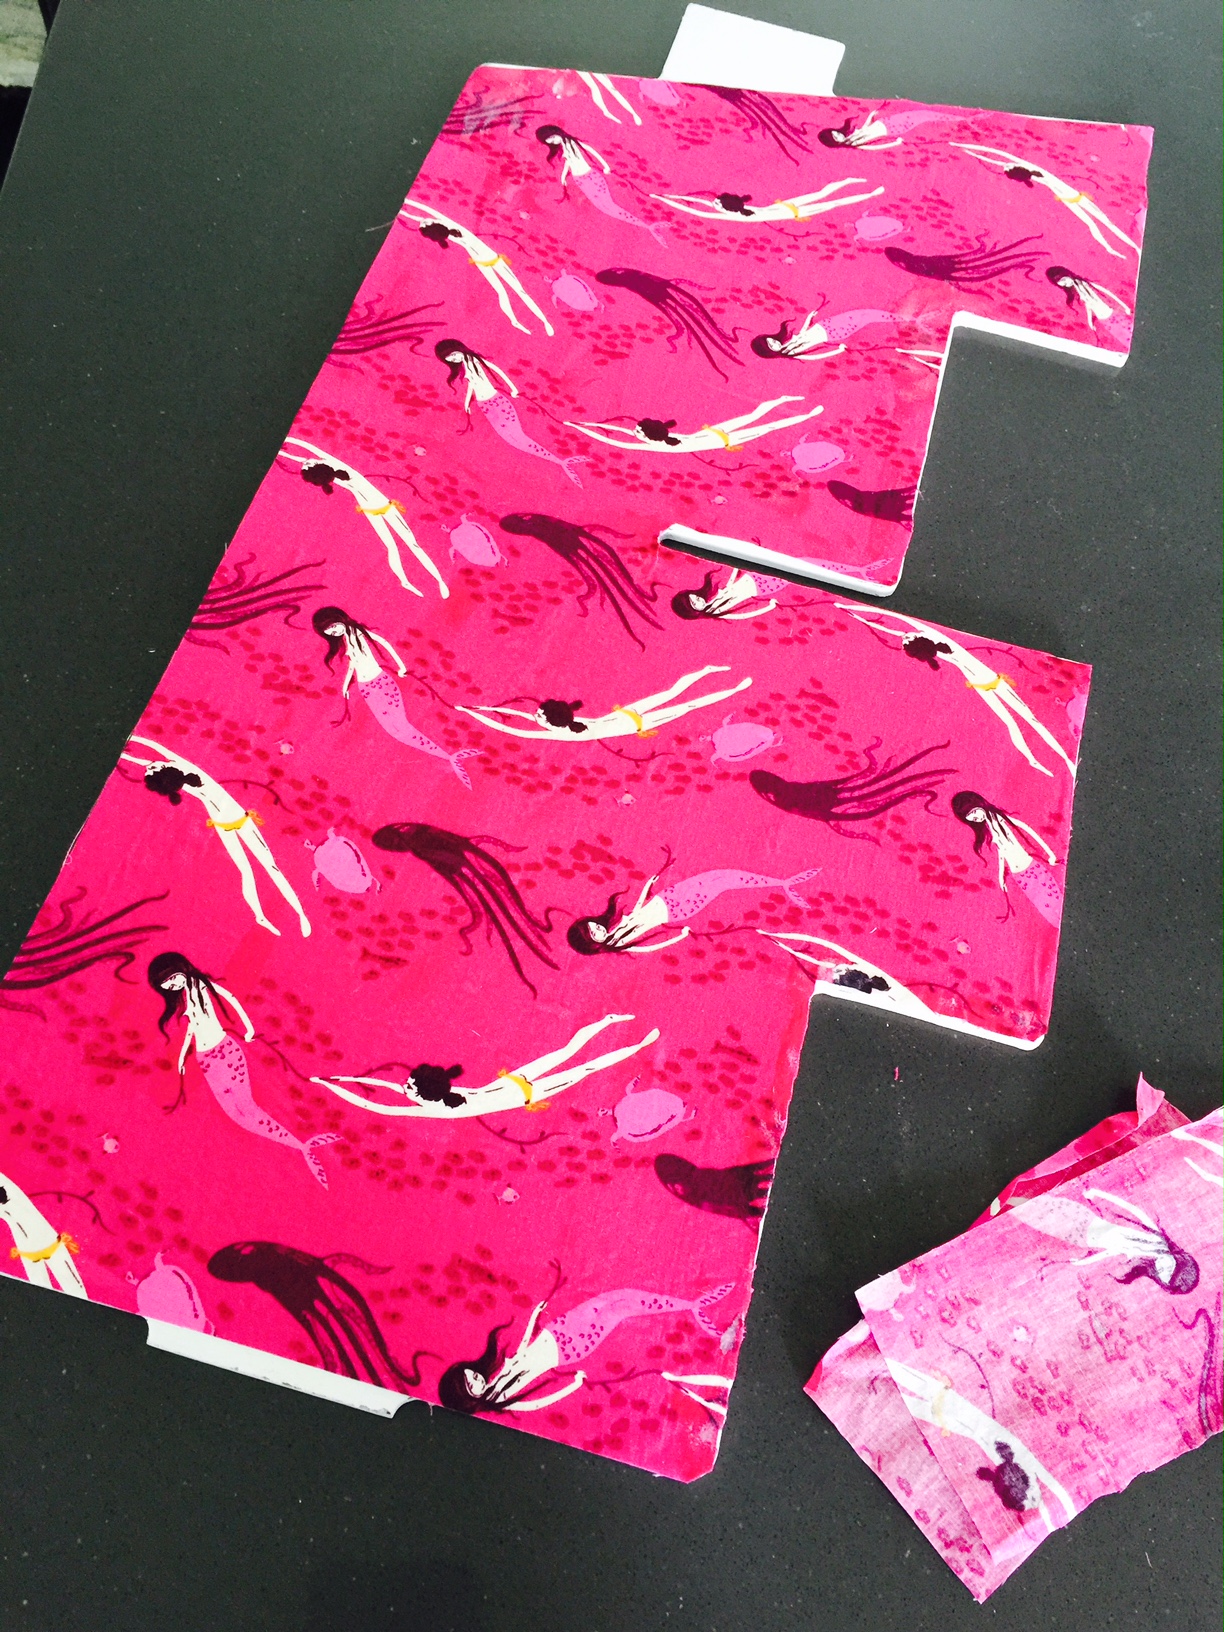
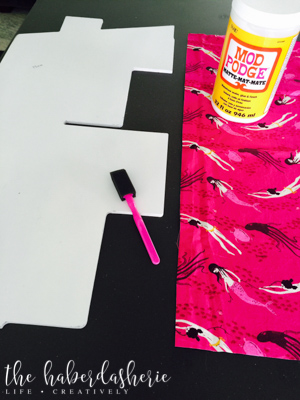
in this slot-together dollhouse, the walls come apart in sheets -- i decided to cover one side of each of the four sheets, giving eight walls some whimsy!
- after measuring the length & width of each piece, i cut long, large rectangles with my rotary cutter & mat.
- using the foam brush, spread the mod podge over the bottom 1/4 or 1/8 of the dollhouse wall.
i like to work from the bottom up, stretching the fabric if needed - once the fabric is in place, and mod podge is still wet, begin cutting out any areas that need removing {in my case, that meant doorways & slots where the dollhouse comes together with other pieces, as well as the angled roofline}
with the glue still slightly wet, you can lift the fabric for cutting, then tack it back down in place...
{sidenote: use as much mod podge as you like --- the white color when wet dries clear}
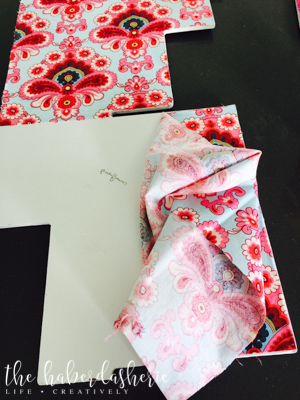
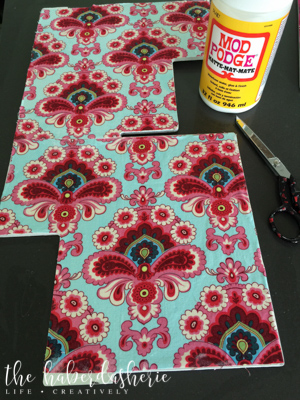

- from here, move on to other dollhouse rooms.
{i had previously done one small part of the dollhouse, and decided to add more... }
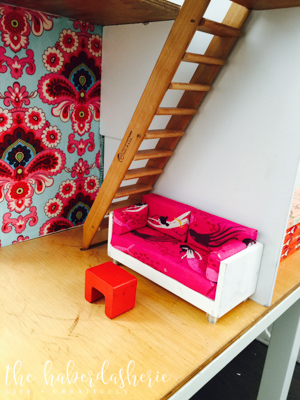
amy butler pink & floral in the living room...
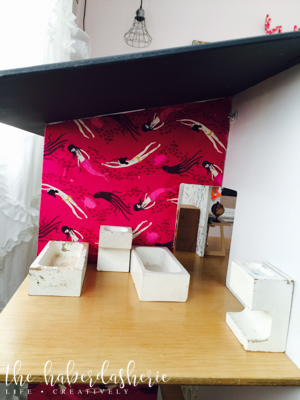
heather ross mermaids in the bath room...
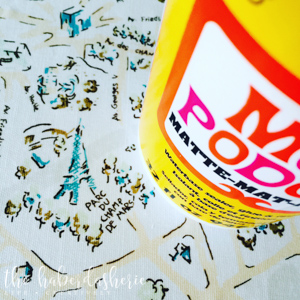
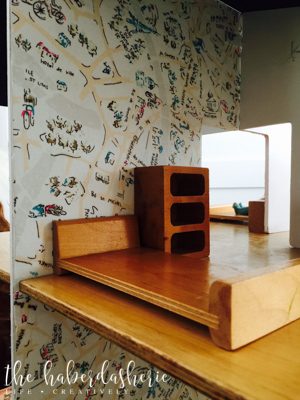
streets of paris in one bed room...
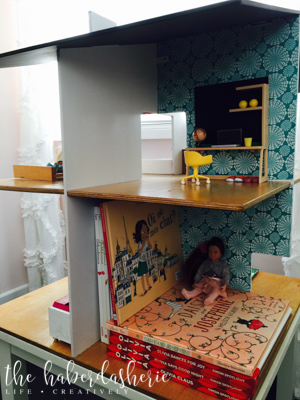
valori wells turquoise medallions in the study...
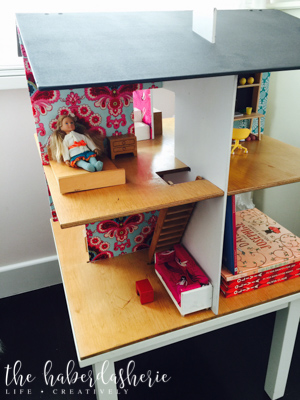
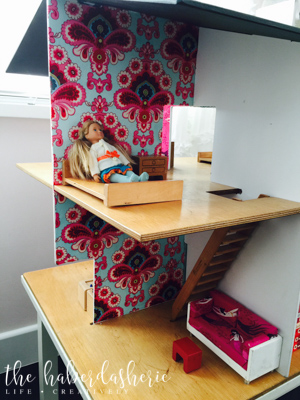
for the final touch, i added chalkboard paint to the dollhouse roof...
{it goes with everything!}
in this house, storage is key --- we use every nook and cranny, and coming up with creative ways to display & store included using two of the eight dollhouse rooms for books!
we love, love, L O V E books in this house, and they display nicely here among the dolls.
i hope you find something in this blog post that sparks some creativity in your life/household...
makes you want to upcycle something... for storage... for fun... just because!
