silhouette plate tutorial
i have always loved the look of vintage silhouette's...
when i was a child, my grandma had a small, heart-shaped plate with a photograph of me riding my radio flyer three-wheeler displayed in her living room. i came across that plate a year or so ago, and came up with the idea of making my own plates of my children to display in our home.
combining my love of silhouette's and memories displayed in unique ways, i came up with this inexpensive way to add charm to your living space...
{this is also a great gift!}
to collect:
- a side-view, profile headshot
{take a number of pictures with either your digital camera or cell phone} - a plate
{i chose a threshold brand, round bead salad plate from Target} - vinyl, self-adhesive chalkboard on a roll
- scissors
- tape
- sharpie
- plate picture hanger
to do:
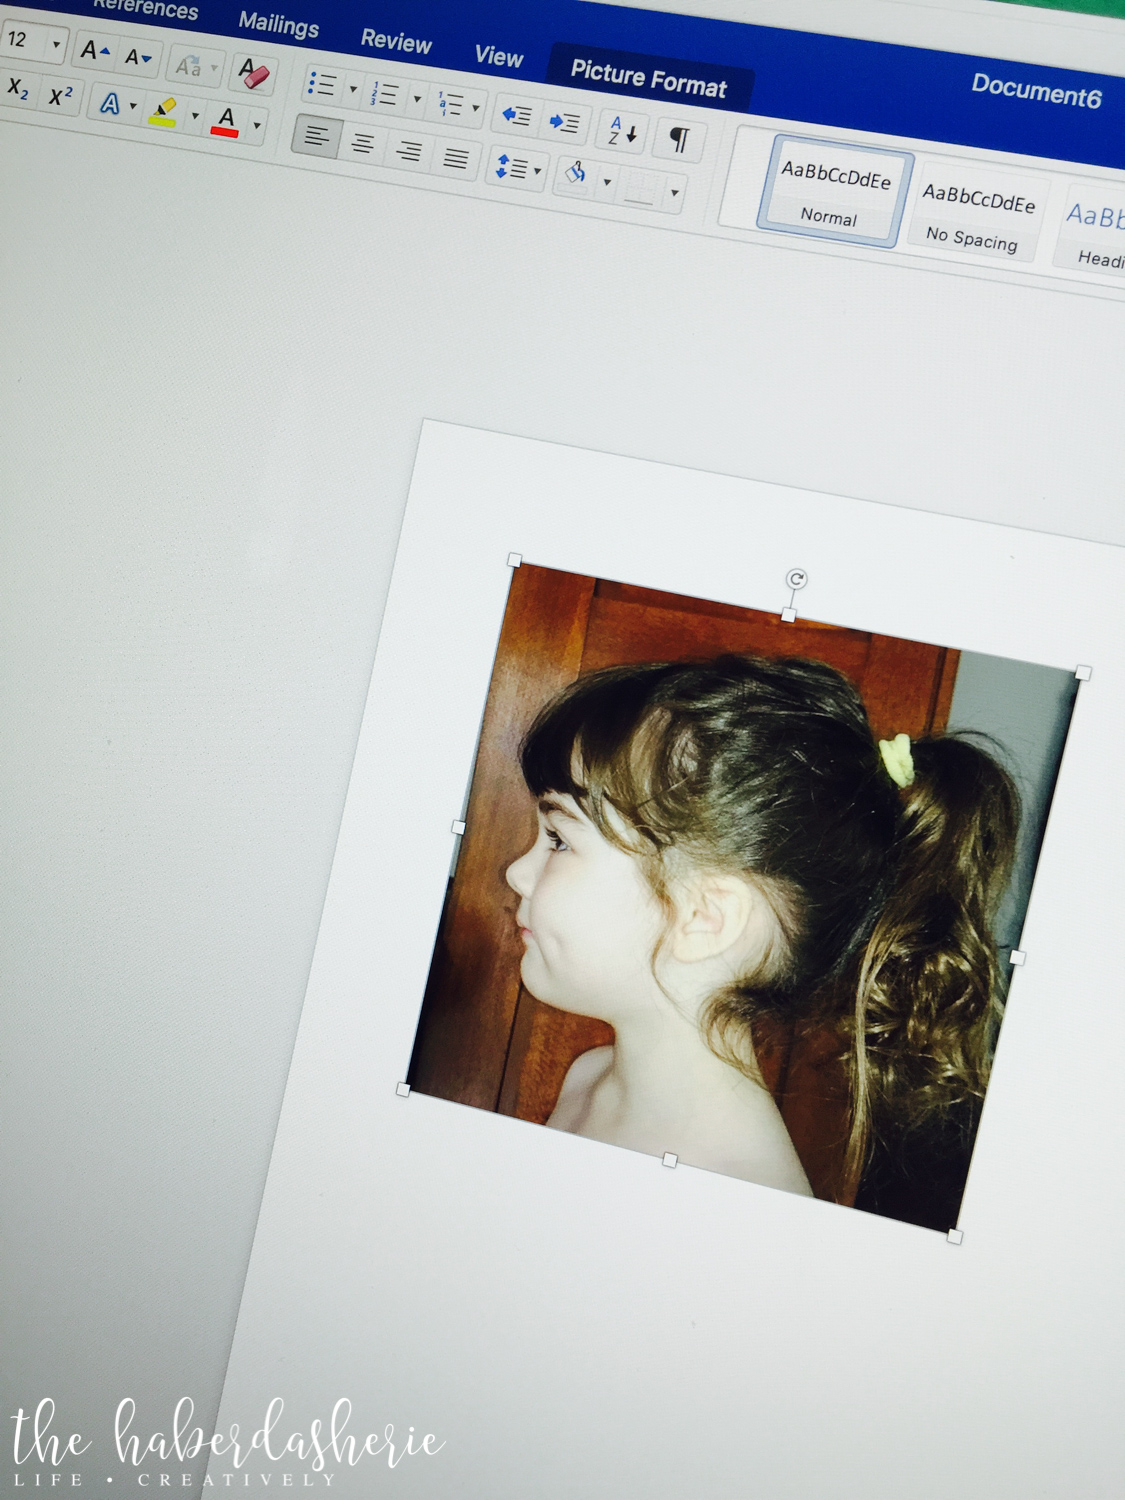
- select your image.
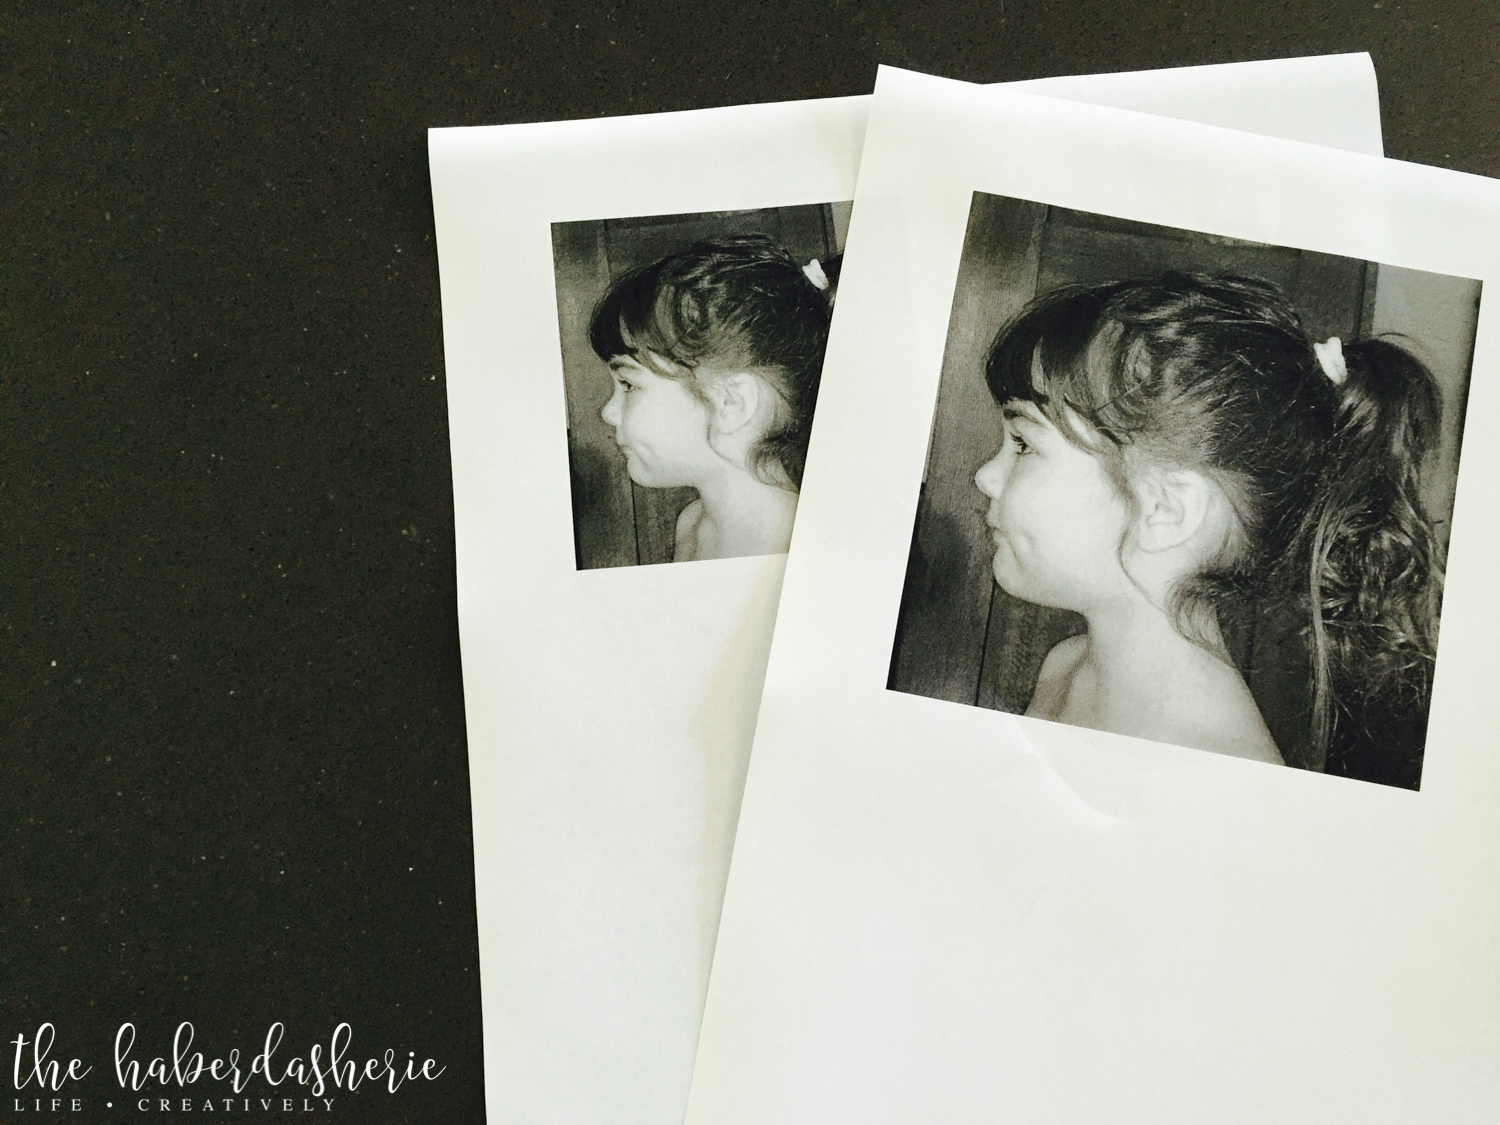
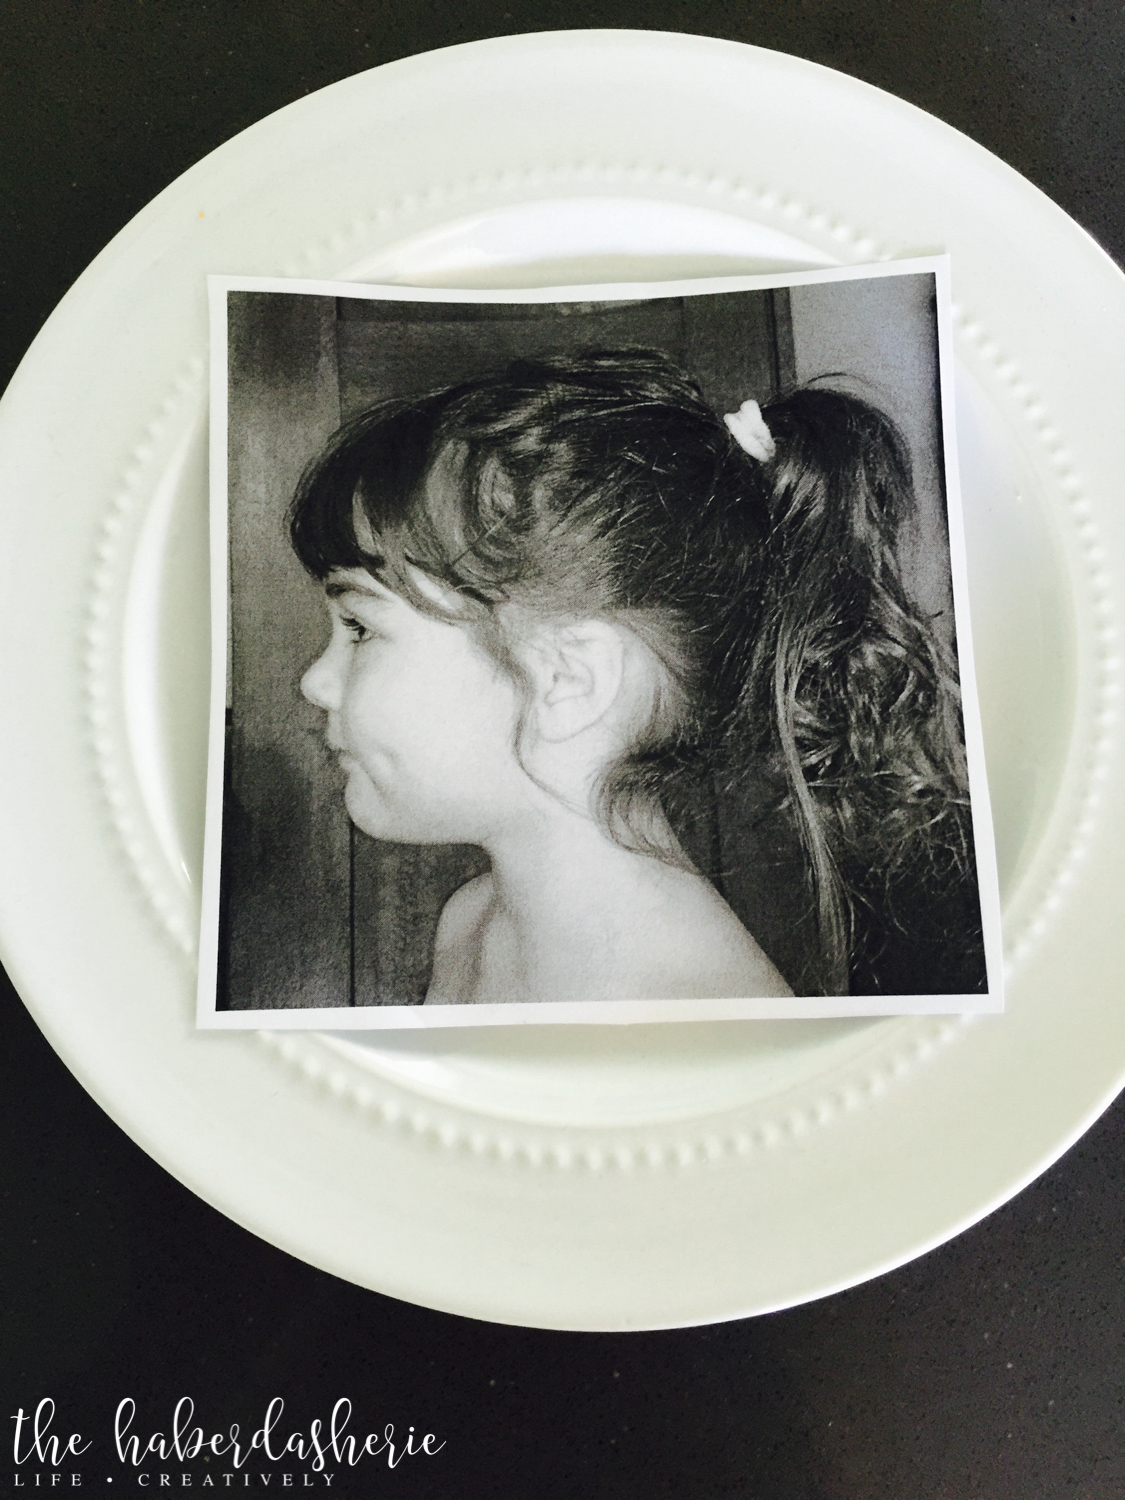
{i like to use the computer for this, but if you have a photograph that is the size you'd like to use, you can photocopy the image a number of times, to allow for re-do's} - print the image in a number of sizes so you can visualize which would work best for your piece.


- using either double-sided tape or overlapping and making your own, attach the back of your image to the chalkboard vinyl.
{attach the tape in the middle of the head of your subject --- this will keep the image from moving around while you are cutting} - additionally, attach the image to the vinyl on top, all around the periphery.
- once stabilized, start cutting the silhouette.
{try to make long, slow cutting motions --- do not cut all the way down to the tip of the scissors, as you do not want an abrupt edge on your silhouette}
{if you make a mistake, or do not like the look of your silhouette, just start again with a new pic & piece of chalkboard vinyl}
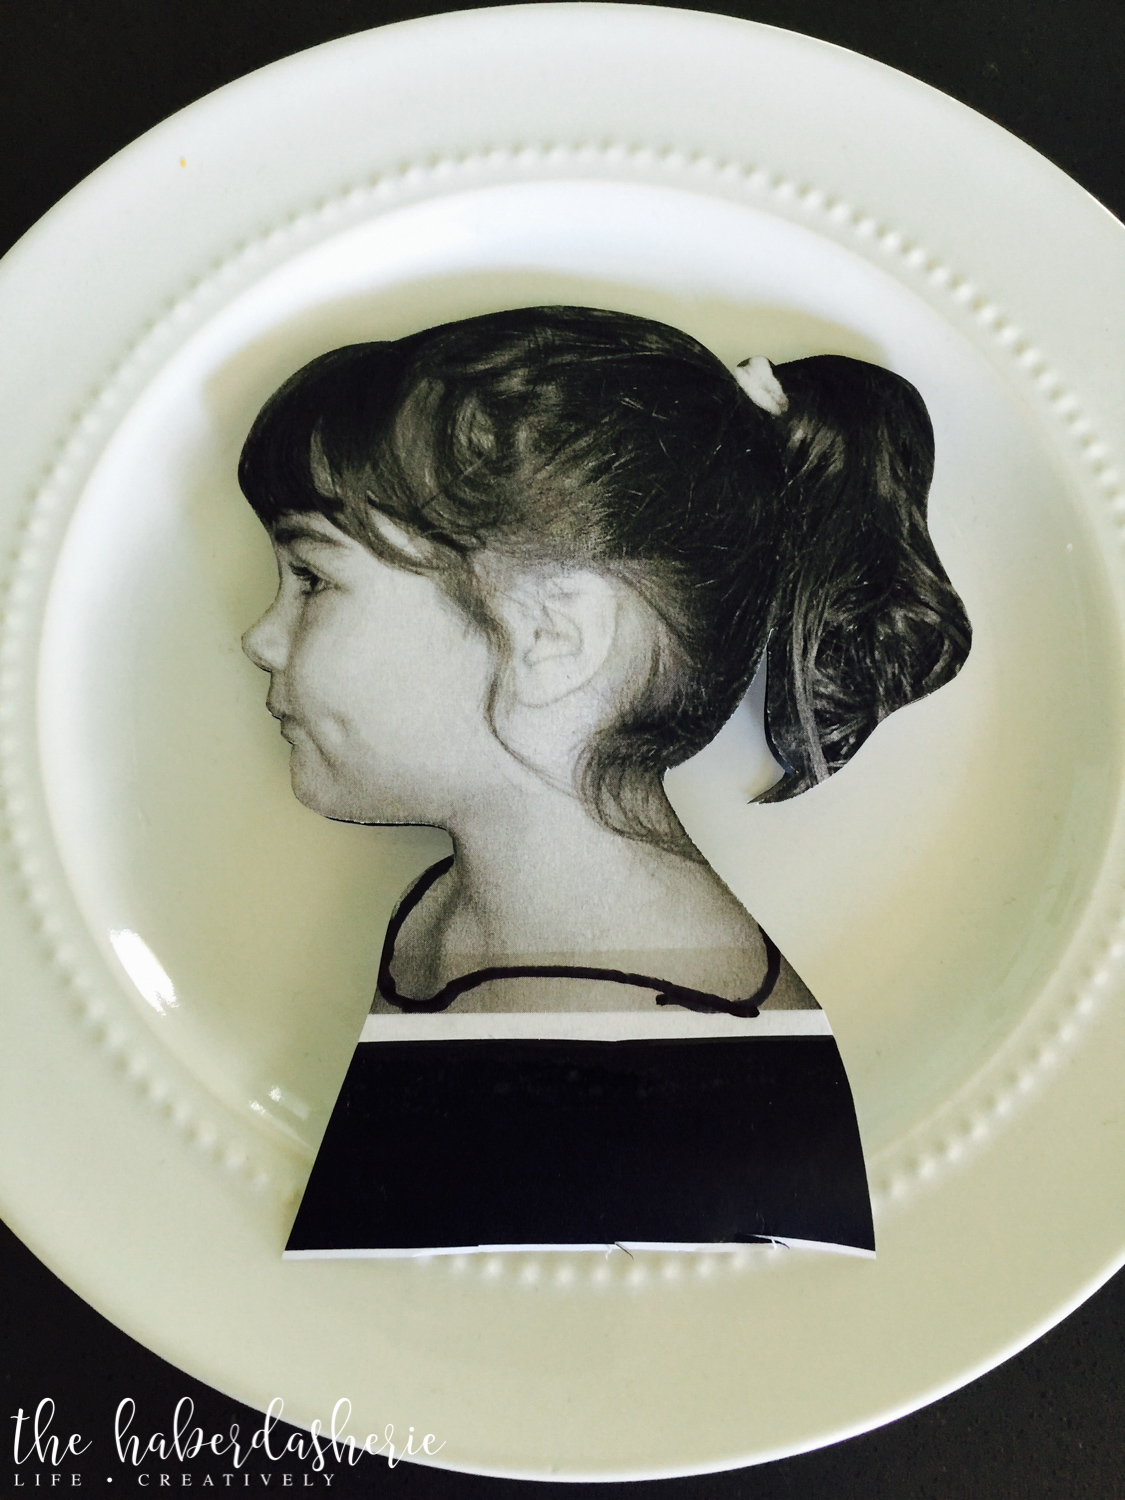
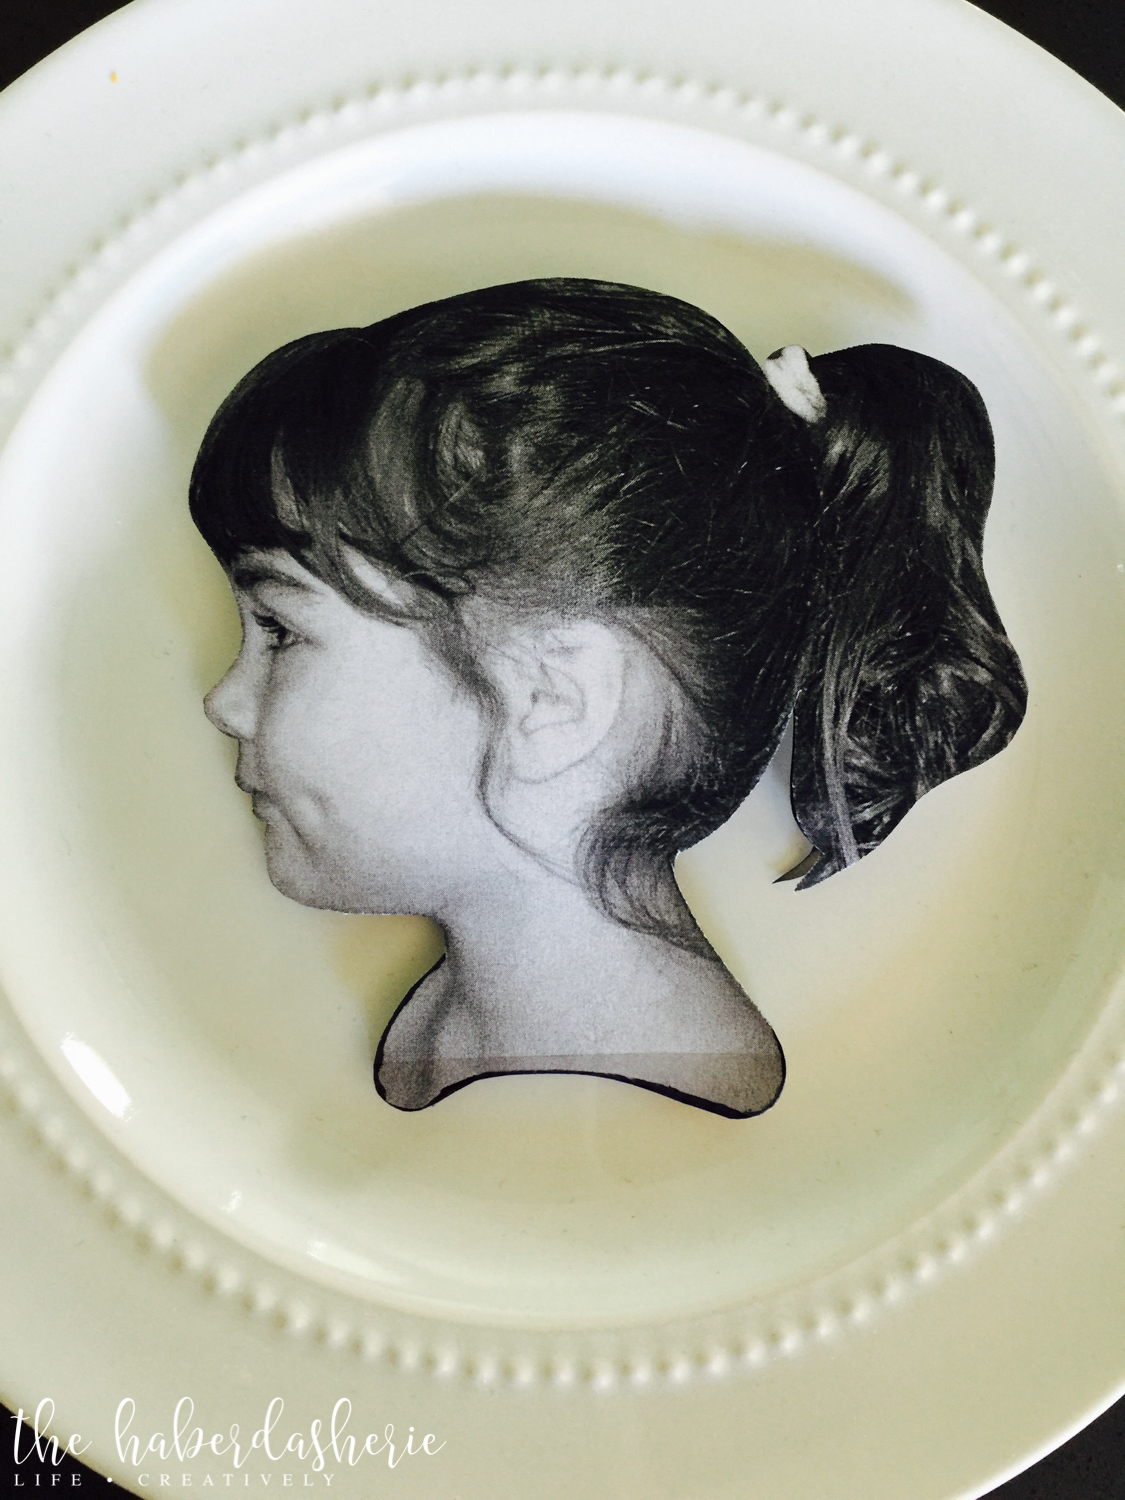
- after cutting the head of your silhouette, it's time to cut the torso.
{i like to add a curve to the bottom} - take your sharpie and draw a curved edge.
- when you have a design you love, begin cutting the bottom/torso area
{again, use a long, slow cut}
- after deciding exact placement of your silhouette, peel away half the back of the chalkboard vinyl, beginning on the face side.
- carefully stick the face-side of your silhouette in place, then slowly peel away the backing, moving any bubbles out towards the periphery with your finger.
this memento of my gorgeous goddaughter will be sent to my bestie who lives in australia.
i know she will cherish this gift forever!
